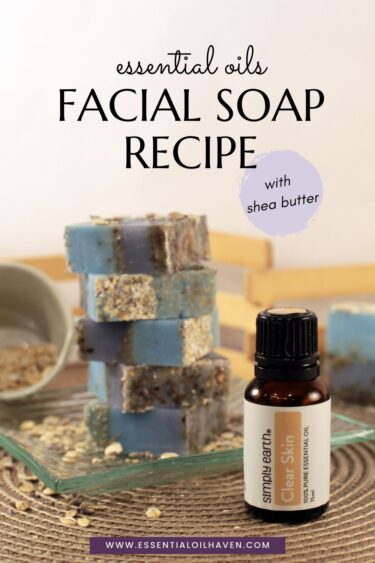
 Every time you wash your face, you have an opportunity to nourish your skin. The choice of facial soap you use makes a big difference in how healthy your skin is.
Red, itchy, and dry (especially in the wintertime)… or soft, moisturized and supple?
I know what I’d choose.
This post contains affiliate links, which means if you make a purchase through these links, I may receive a small commission at no extra cost to you. Read my full disclosure policy here.
My face soap bar recipe with moisturizing shea butter will help you create a soothing and nourishing facial soap for yourself, too!
Shea butter soap lathers beautifully and feels soft when used. And a few exfoliating ingredients take this soap bar recipe to the next level.
In this guide, I’ll break down the basics of making homemade shea butter soap. I’ll show you all the ingredients, and all the steps.
It’s easier than you think.
Let’s dive in!
Why Use Shea Butter?
Shea butter is a popular ingredient in both commercial and DIY skin care products.
Here’s why:
- Moisturizes the skin: Shea butter is an excellent skin moisturizer due to its high concentration of fatty acids and vitamins. It helps to lock in moisture and keep the skin hydrated, making it an excellent choice for people with dry or flaky skin.
- Reduces inflammation: Shea butter has anti-inflammatory properties that can help reduce redness and inflammation in the skin. It can also soothe the skin and reduce symptoms of inflammatory skin conditions like eczema and psoriasis.
- Improves skin elasticity: Shea butter contains a high concentration of oleic, stearic, and palmitic acids, which help to improve the skin’s elasticity and firmness. Regular use of shea butter can help to reduce the appearance of fine lines and wrinkles.
- Protects the skin: Shea butter contains natural UV filters that can help protect the skin from sun damage¹. It’s only an estimated SPF of 3 to 4 though, so it’s not strong enough to use as a sunscreen on its own. Additionally, shea butter contains antioxidants that can help protect the skin from environmental stressors like pollution and free radicals.
- Reduces the appearance of scars: Shea butter contains vitamin A, which helps to promote skin cell turnover and repairs damaged skin. It may help to reduce the appearance of scars and stretch marks.
Overall, shea butter is a versatile and beneficial ingredient for skin care. It is safe for most skin types and can be used in a variety of products, including moisturizers, body butters, and soaps.
The shea butter melt & pour soap base from Simply Earth makes things super easy!
It’s a white soap base, so when mica powder or other colorants are added to it, the resulting soap is pastel in color.
What is Melt & Pour Soap?
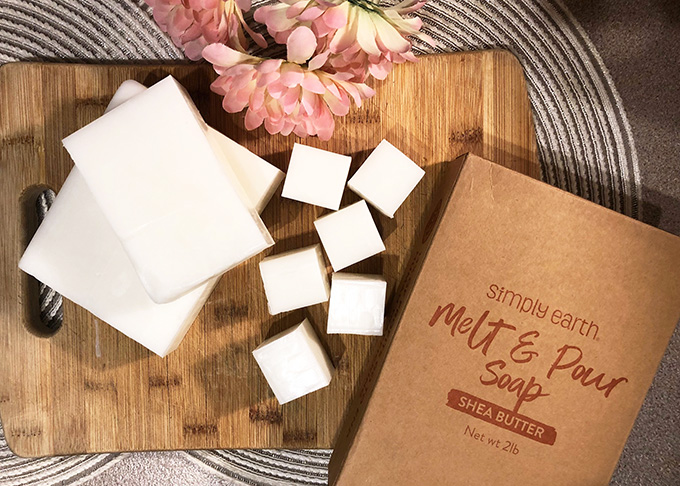
Shea Butter Melt & Pour Soup Base from Simply Earth
Buy Here
Melt & pour soap is a soap base. You can use it as is, or melt and mix it with other ingredients to customize your handmade soap. After you melt it and mix it with the ingredients you want, pour it into a mold and let it cool.
That’s it! It’s super beginner-friendly.
Soaps are made by combining oils and fats with a strong alkaline solution (also known as lye). Melt & pour soap base has already gone through this process. It’s already soap. Using melt & pour soap is an easy way to customize your own soap creations without going through the extra chemical process involved when using a harsh ingredient like lye.
That’s why many people will call working with melt & pour soap, “soap crafting”. You’re not technically making the soap, you’re customizing already made soap to make it amazing.
Soap Making Equipment
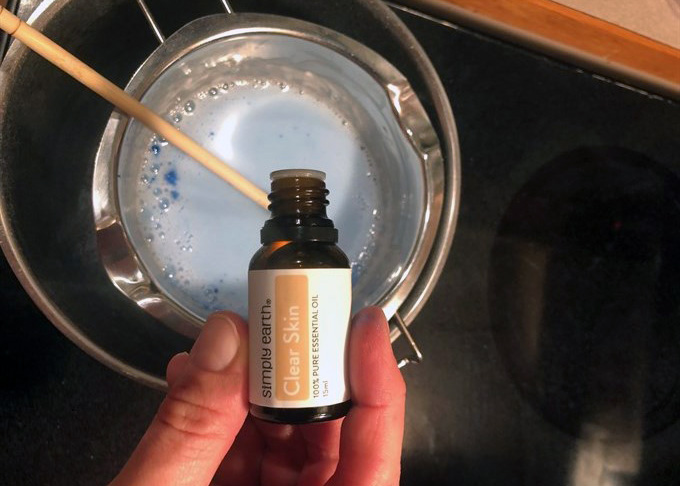
Making soap at home is fun & easy!
To make soap at home, you will need the following equipment:
- Digital kitchen scale to accurately weigh out ingredients (this is a must-have! I use this one here)
- Mixing bowls for combining ingredients.
- A mixing spoon or spatula for stirring ingredients.
- Thermometer to measure the temperature of the ingredients when making soap (optional. I use a simple one like this one here).
- Soap mold of choice to shape the soap into bars. I used the Big Rectangular Soap Mold from Simply Earth. It is best for making horizontally oriented designs. With this mold, the soap does have to be cut at the end, to give it its final single bar form. The silicone material makes for easy removal of the soap.
Ingredients
This homemade shea butter soap recipe is a great way to create a luxurious bar of soap that you can tailor to your needs and preferences.
- 4″ Loaf Soap Mold
- 1/2 lb Shea Butter Soap Base
- 1/2 lb Glycerin Melt & Pour Soap Base
- 1/4 cup oats, ground up
- 1 tbsp lavender buds (optional)
- Ocean Blue Mica Powder
- Purple Mica Powder
- 30 drops Clear Skin Essential Oil Blend
- Isopropyl Alcohol (in a spray bottle)
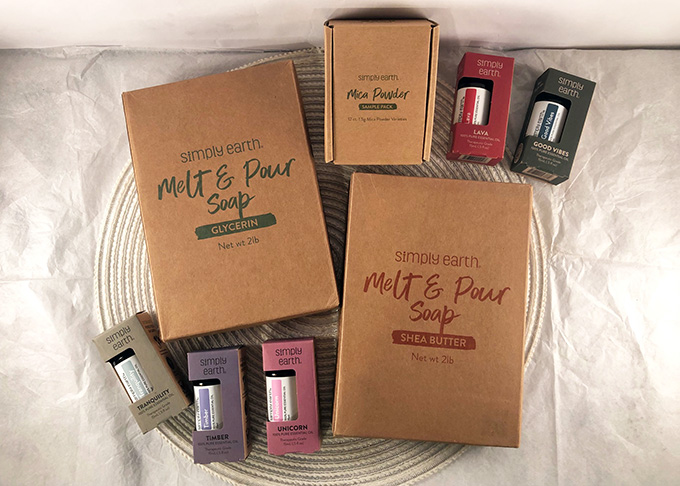
Soap making products from Simply Earth
Buy Here
For this recipe, we’ll be using both glycerin soap base and shea butter soap base. The glycerin soap will create vibrant colors, and the shea butter will create our nourishing, lathering, pastel colored base.
The beautifully balanced Clear Skin Essential Oils Blend is perfect for this exfoliating facial soap bar.
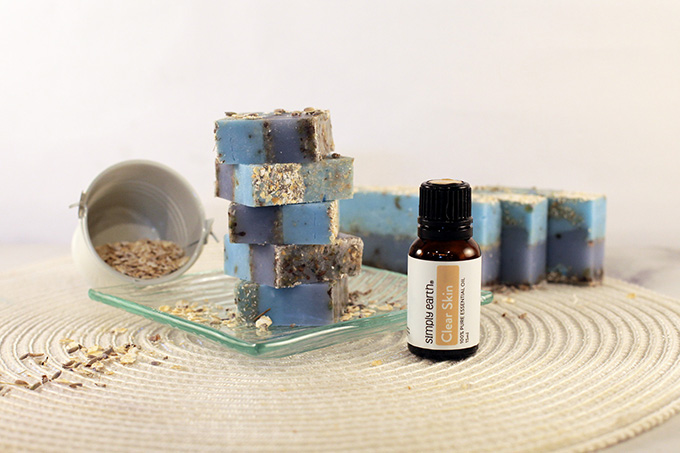
Clear Skin Exfoliating Facial Soap DIY
Get Clear Skin Blend Here
I’m actually becoming kind of a soak making fanatic. Recently, I started experimenting with different base layers and wild scent combinations. More on that to come at another time.
Instructions Overview
Making bar soap with shea butter melt & pour base is pretty easy.
But before you dive in head first, here are a few things that are important to know before you start.
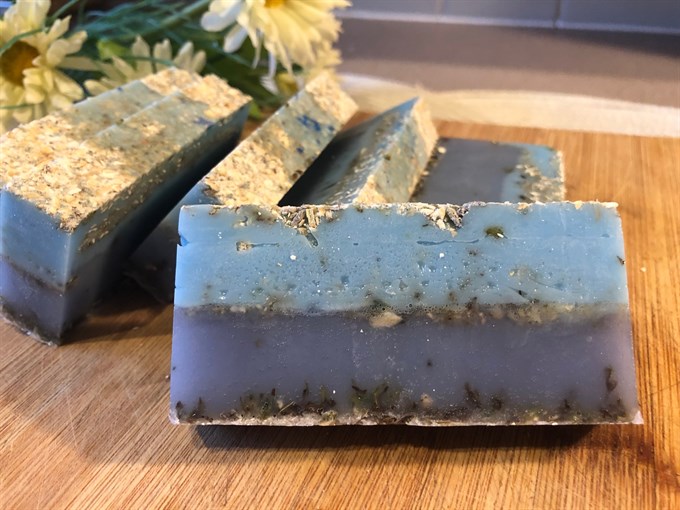
You’ll be creating this layered soap bar design with exfoliating oats and lavender buds.
- Cut your melt & pour soap base into 1″ cubes. This helps the soap melt more evenly. It’s easy to overheat soap, so we want to avoid big chunks of soap that will take longer to melt compared to smaller chunks in the same bowl.
- Melt soap on the stove using a double boiler. You can also use a liquid measuring cup in the microwave. Using the stove takes a bit longer, but it will make it easier to control the temperature of your soap. Using a microwave will be faster, but microwaves don’t heat things evenly. To melt soap in the microwave, you’ll need to use 5-10 second intervals and stir between each interval. If you’re using a microwave, watch the soap closely as it can easily overheat and bubble. You want your soap to melt, but not bubble up. When first starting with melt & pour soap, I recommend melting it on the stove so that you have more control over how it’s melting.
- Work with layers. For this recipe, we will be creating 2 layers of soap. Between each layer of soap, you must spray it with isopropyl alcohol, otherwise the layers will fall apart. Spritzing the layers also helps to get rid of any bubbles in the soap, and help make it smooth and even. As you’re layering soap, you’ll want to be mindful of the temperatures of your soap layers. You need to make sure the soap layer you have just poured is set enough to hold the layer above it. You’ll know the layer is set enough if you can touch it gently with your finger without the layer cracking or denting. You’ll also need to make sure the layer of soap isn’t too hot, otherwise it will melt your previous layer and you won’t end up with clear defined layers of soap. The soap you are about to pour should be between 125-135 ° F. If you don’t have a thermometer at home to check the temperature, look for a skin layer of soap on top of your soap. This will indicate the soap is cool enough to be poured.
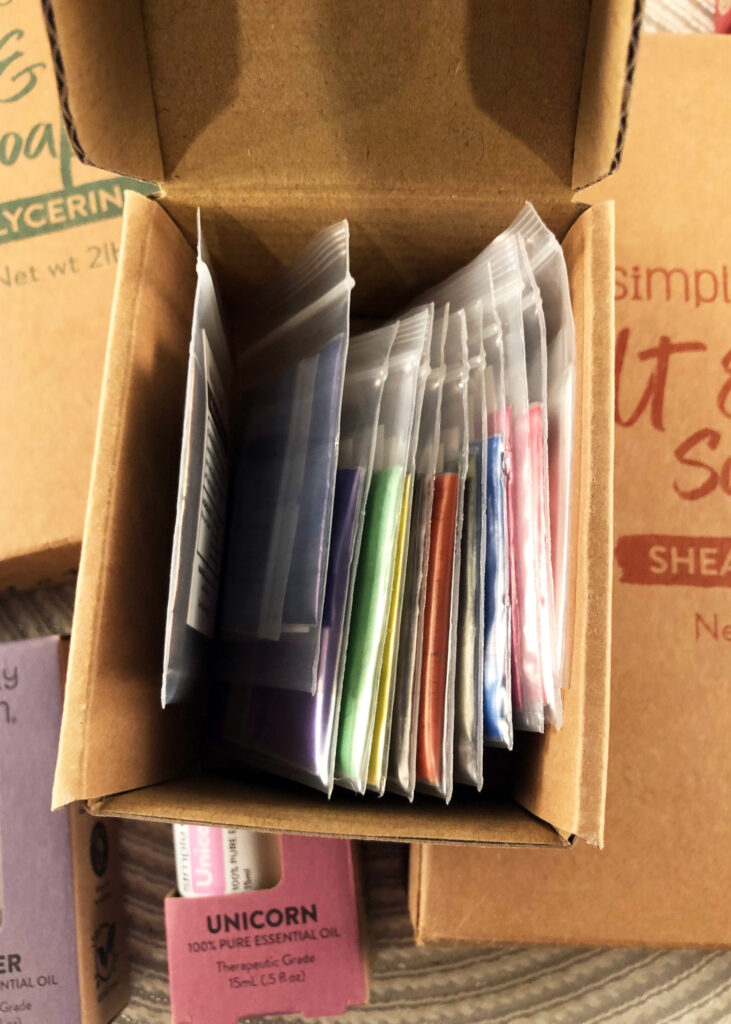
- Use Mica Powder for Natural Coloring. For the look of this soap, we are going to use two different colored mica powders to color the soap. You can swap the colors out for any that you’d prefer. You can also use more or less color depending on your preference. When you first add the mica powder to the soap, it will be a little bit clumpy. You can prevent this by dispersing the mica powder in a small amount rubbing alcohol before adding it to the soap. You can also remove clumps by stirring. I prefer mixing the mica powder right in the soap.
Mica Powders from Simply Earth
Buy Here
How to Make Clear Skin Exfoliating Facial Soap
Okay! So I think you’re ready to tackle this project. Let’s get going!
See the photo story below for detailed guidance.
Steps
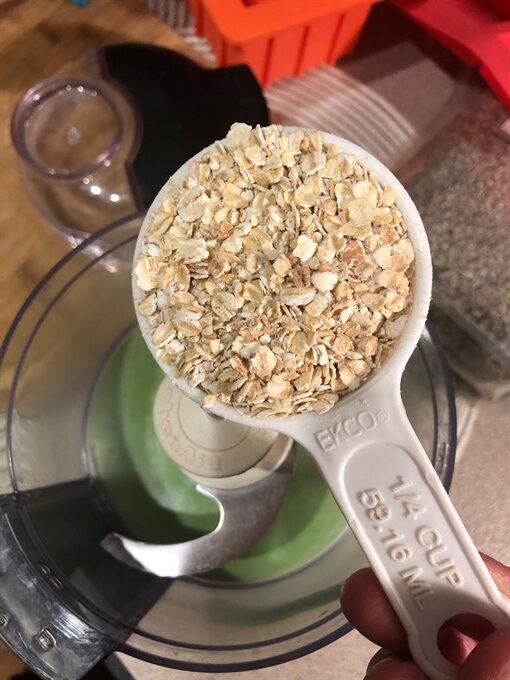
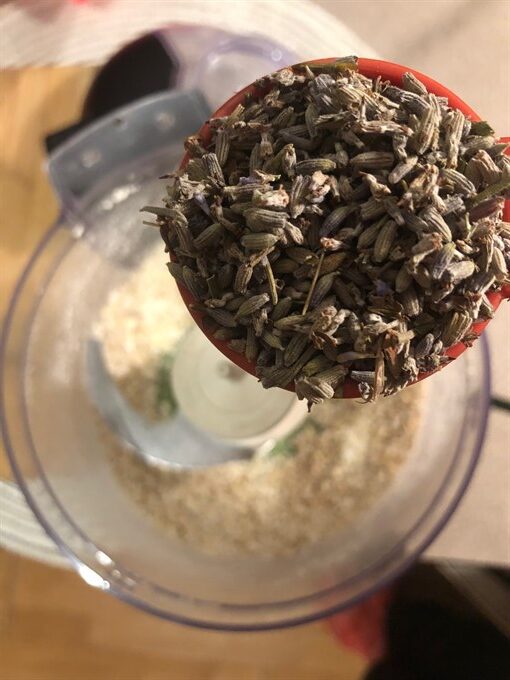
- Grind oats (and optional Lavender buds) in a food processor until fine. Set aside.
Ground oats add an exfoliating element to your shea butter soap.
Add dried Lavender buds (optional)
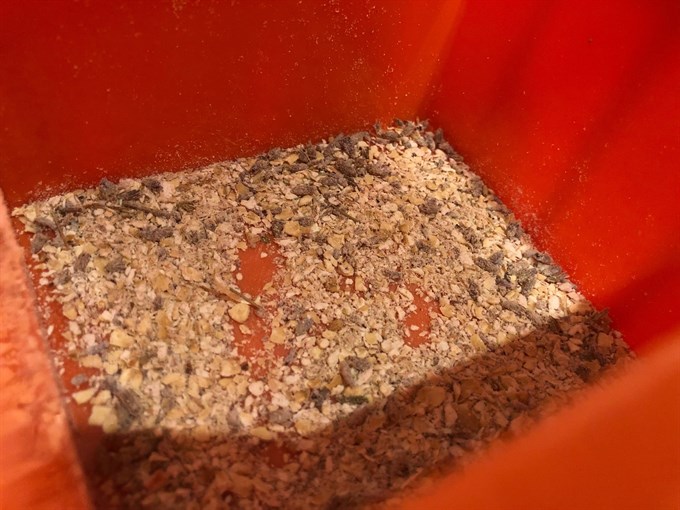
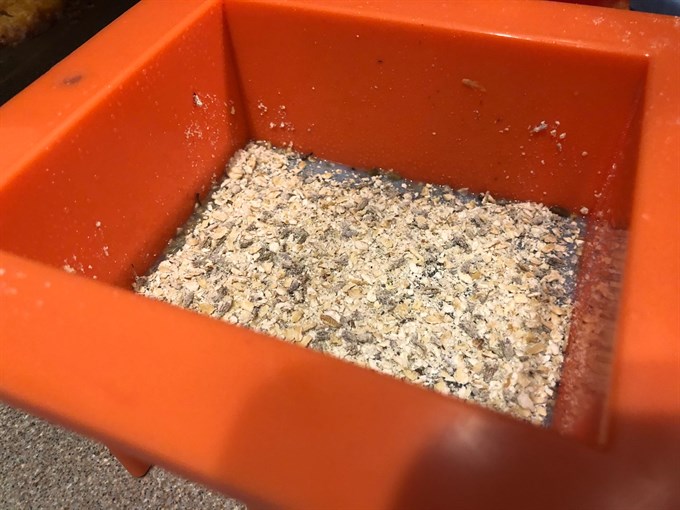
- Sprinkle 2 tbsp of this oats mixture into the bottom of the soap mold.
Sprinkle exfoliating mixture into bottom of soap mold.
- Cut your glycerin melt & pour soap base into 1/2″ cubes. Set aside.
Glycerin Melt & Pour Soap Base from Simply Earth
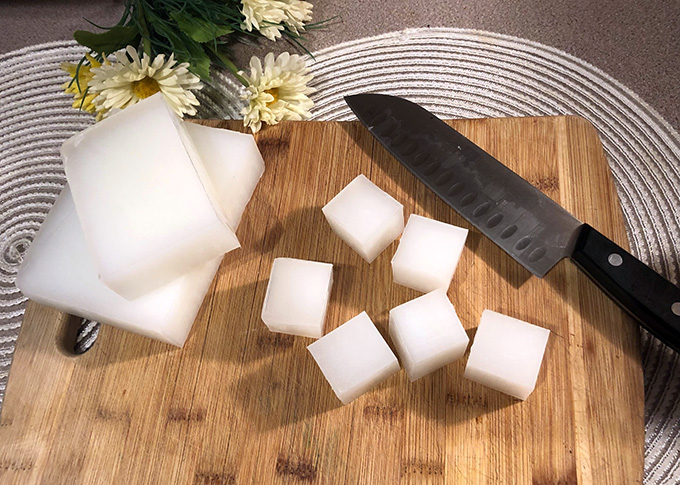
- Cut your shea butter melt & pour soap base into 1/2″ cubes. Start with this batch.
Shea Butter Melt & Pour Soup Base from Simply Earth
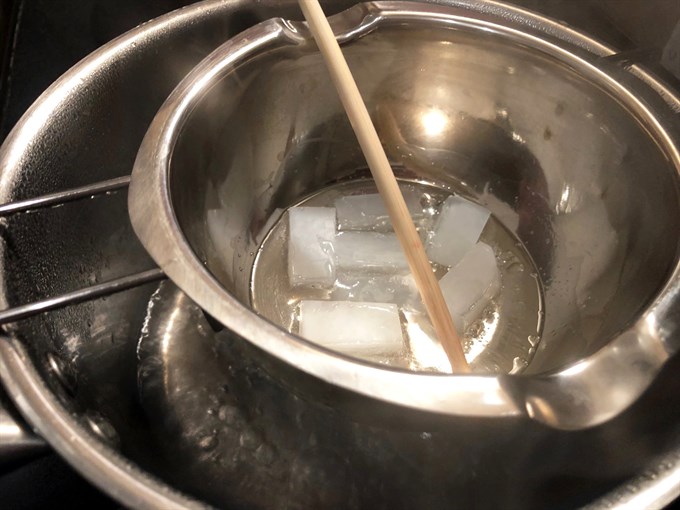
- Melt soap on the stove using a double boiler.
Double Boiler set-up for Shea Butter soap making
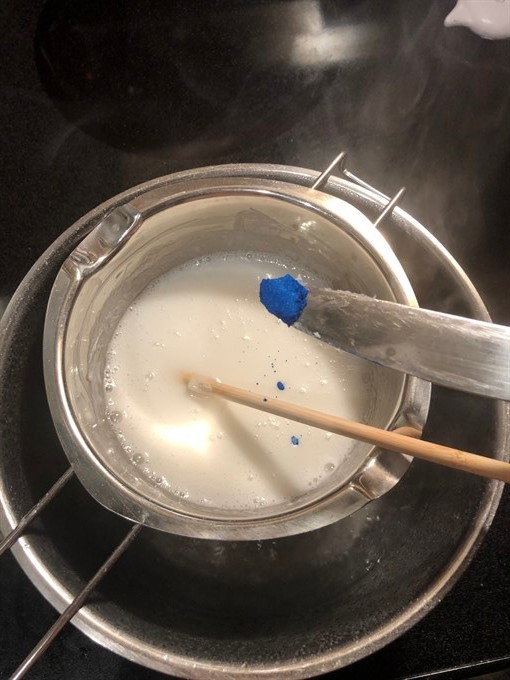
- Add a dash of ocean blue mica powder along with 15 drops Clear Skin Essential Oil Blend and stir.
Use a dash of mica powder to color your soap as desired.
- Pour into the soap mold.
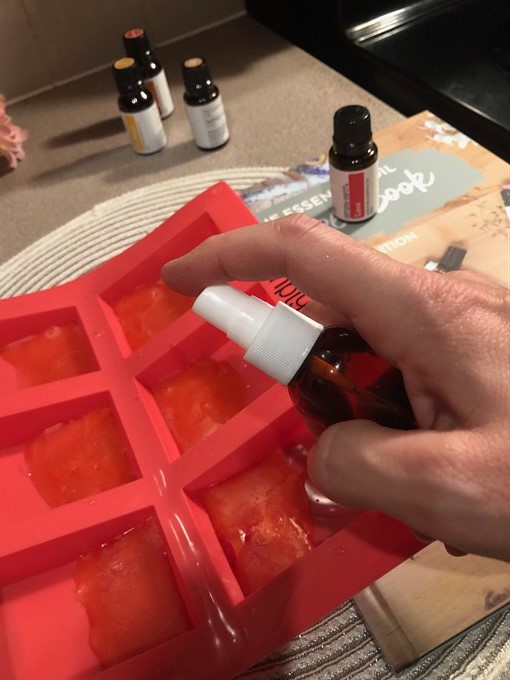
- Spritz away any bubbles with isopropyl alcohol.
Spritz with Isopropyl Alcohol between Layers to help them set (and to get rid of bubbles in the soap)
- Sprinkle with oat-lavender mixture.
Add a layer of exfoliating oats and lavender buds.
- Allow it to set.
- While the blue layer sets, take the glycerin portion of your soap and melt it.
- Add a dash of purple mica powder along with 15 drops of Clear Skin Essential Oil Blend and stir.
- Mix remaining oat-lavender mixture directly into the soap here.
- Spritz the blue layer of soap with isopropyl alcohol, then pour the purple soap over the blue layer.
- Spritz the soap with isopropyl alcohol to prevent bubbles.
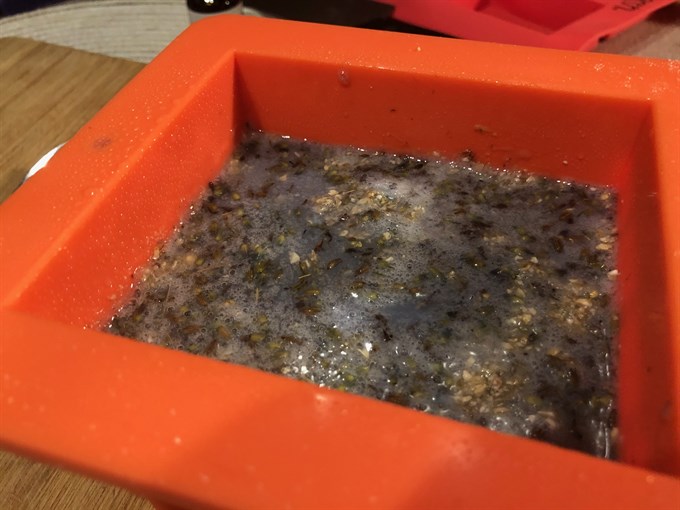
Final Soap in Soap Mold
- Once the soap has set, remove it from the mold and enjoy!
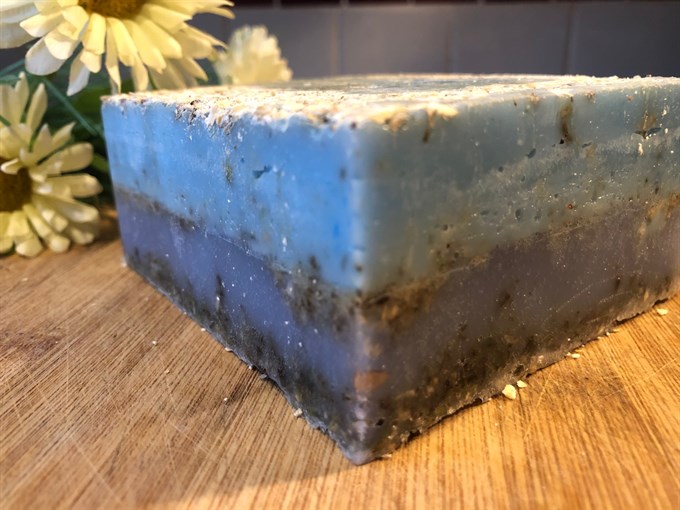
Exfoliating face soap (in block form). Cut into squares to use.
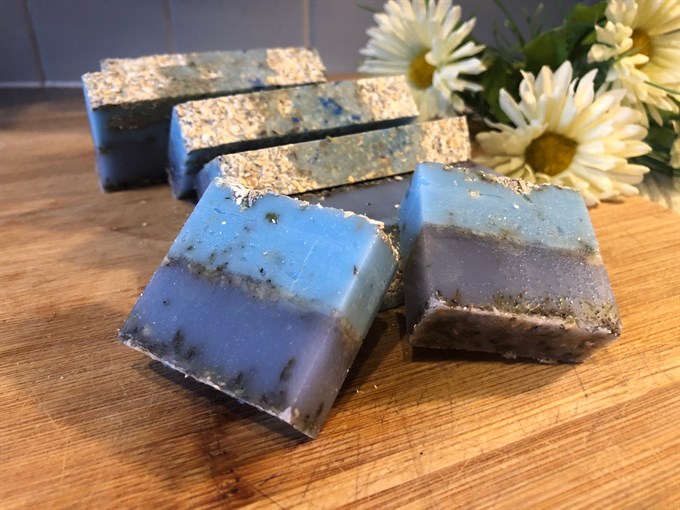
Cut into long blocks first.
Cut up one more time into small squares for face soap.
Now all you’ll need is a cute bar soap dish (like this one), and you’ll be all set to enjoy these natural shea butter soaps in your home!
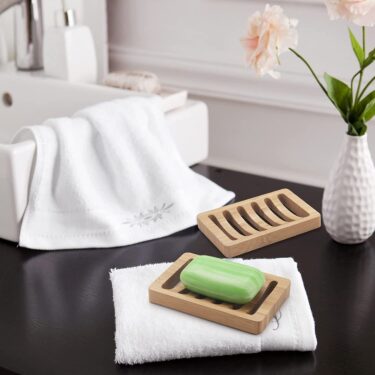
Bamboo Natural Soap Dish
Less than $10 here
Final Thoughts
There you have it: homemade shea butter soap in less than 20 minutes!
Making customized soaps with natural ingredients like shea butter is a fun way to make something special for yourself or someone else. You don’t have to buy an expensive store-bought bar of soap if you’re looking for a natural aromatherapy DIY gift.
Plus, since it only takes 20 minutes from start to finish, it’s perfect for busy moms who need some me-time but don’t have hours on end to dedicate towards crafting projects!
Give this easy DIY recipe a try today… I think you’ll love it!
References
¹ Shea Butter sun protection: healthline.com



Emma, it is always enjoyable to read your post. Love what you’ve done with the soap. Thanks for sharing!