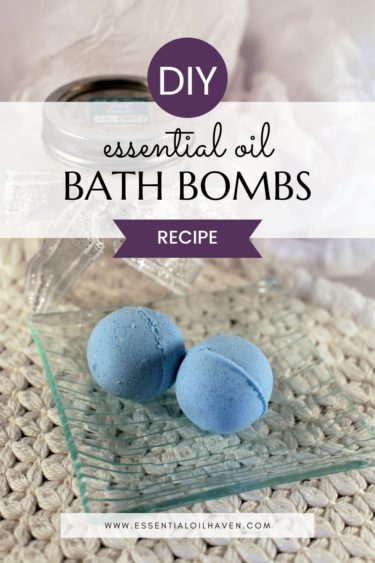
 One of my favorite ways to relax is to enjoy a good, hot bath at home!
It’s such a simple, yet luxurious way to pamper yourself. Add essential oil bath bombs into the mix, and your at-home spa evening turns perfect just like that!
These delightful little fizzies not only smell amazing, they are a great way to enjoy the benefits of aromatherapy.
This post contains affiliate links, which means if you make a purchase through these links, I may receive a small commission at no extra cost to you. Read my full disclosure policy here.
I admit – I have avoided making bath bombs for a long time. But since fine-tuning this easy recipe, it’s now not a chore any more!
Keep reading to learn how to craft your own beautiful DIY bath bombs, including recipes, tips, and step-by-step photos.
It’s surprisingly easy. Join me!
What are Bath Bombs?
Bath bombs are small balls of baking soda, citric acid, and Epsom salt that are infused with essential oils and (optional) colorants. When placed in water, they fizz and dissolve, releasing their therapeutic benefits into the tub.
Not only do essential oil bath bombs make your tub smell amazing, but they can also help to improve your mood, reduce stress levels, and ease muscle pain.
The next time you’re feeling run down or in need of a little TLC, draw yourself a warm bath and drop in a homemade bath bomb for a truly indulgent experience.
How to Make Essential Oil Bath Bombs
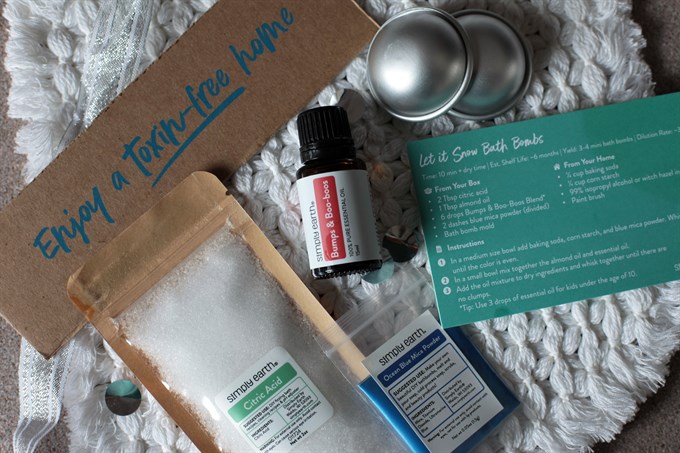
Ingredients for bath bomb recipe
Making your own DIY bath bombs at home is surprisingly easy—and much cheaper than buying them pre-made. All you need is a bowl, a whisk, a mold of some sort (a silicone ice cube tray works perfectly), and the following ingredients:
- Baking Soda
- Cornstarch
- Citric Acid
- Sweet Almond Oil
- 99% Isopropyl alcohol Witch Hazel (preferably in a spray bottle)
- (Optional) Food coloring or natural colorants such as turmeric powder, mica powder or matcha powder
- Essential Oils (your choice, see recipe below)
- Bowls and measuring cups for mixing
- Bath Bomb Molds (Can be chocolate making trays, muffin tins, or anything else that you can place your wet ingredients in to dry.)
Not sure how to get started? Try my recipe below, which was originally published as part of my Simply Earth Recipe Box Subscription Box.
NOTES: You can vary the essential oils used to suit your taste. The mica powder is simply an optional colorant so the bath bombs look fancy! It’s completely optional to use.
DIY Bath Bombs Recipe
These bath bombs are surprisingly fun to create. I have some pretty good pointers for you in my photos, so please read through the tips carefully. As a beginner bath bomb creator, I did struggle with a few points at first, which I’ll explain. Please follow along.
How many bath bombs does this recipe make? 3 small ones. Once you’re comfortable with the recipe and process, multiply the ingredients as needed.
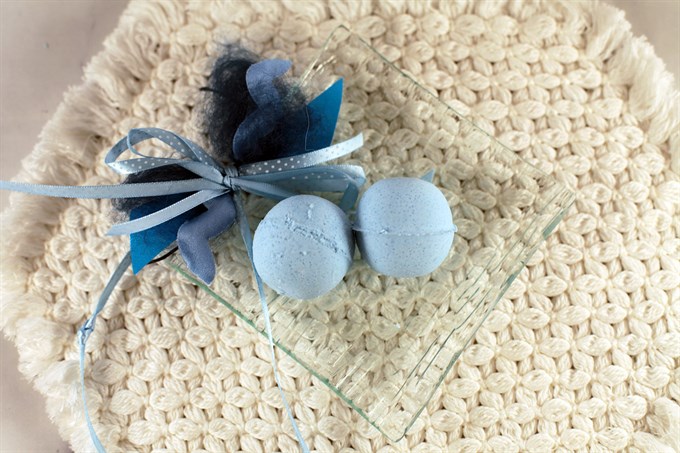
My first ever DIY bath bombs turned out to be a success!
Ingredients
- 1/4 cup baking soda
- 1/4 cup corn starch
- 99% isopropyl alcohol or witch hazel
- 2 tbsp citric acid
- 1 tbsp almond oil
- 3 drops Bumps & Boo-Boos blend
- 2 dashes blue mica powder (optional)
- Bath bomb mold
Directions
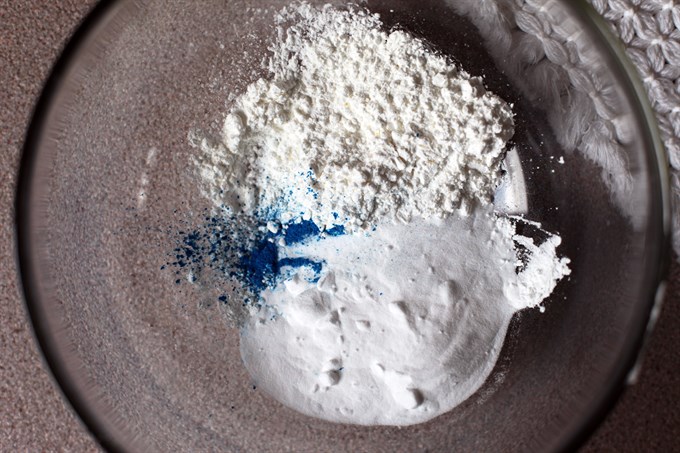
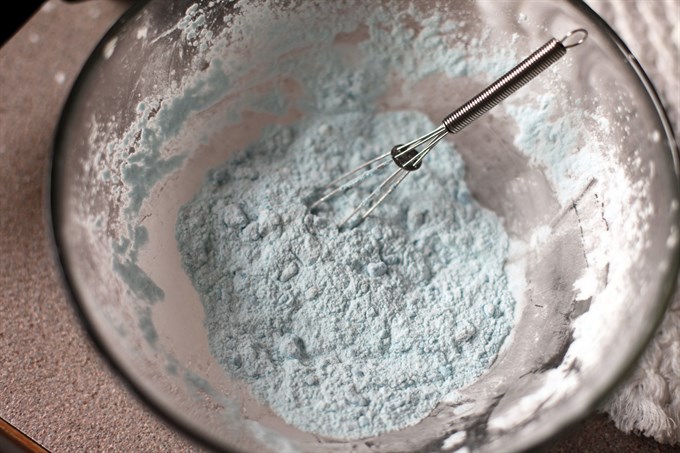
- In a medium size bowl add baking soda, corn starch, and blue mica powder. Whisk together until the color is even.
Baking soda, corn starch, and blue mica powder for coloring (step 1).
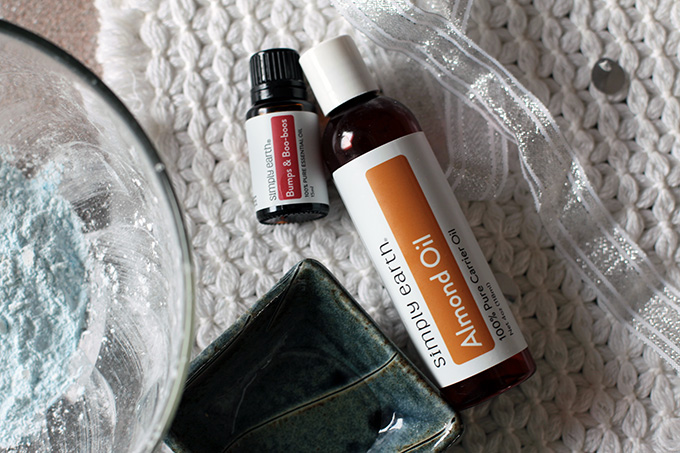
- In a separate small bowl, mix together the almond oil and essential oil.
I used Bumps & Boo-boos essential oil blend for these bath bombs; mixed in a separate bowl (step 2).
- Add the oil mixture to dry ingredients and whisk together until there are no clumps.
Whisk ingredients together until there are no more clumps (step 3).
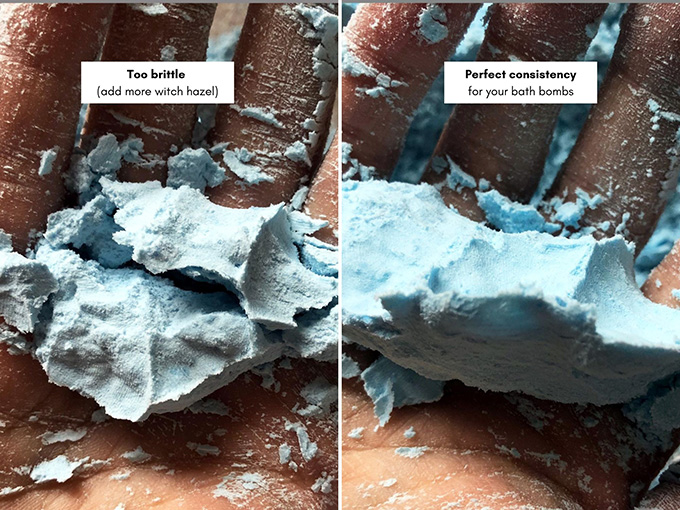
- Drizzle a small amount of isopropyl alcohol (or witch hazel) to the mixture and stir. Repeat until mixture cretes a clump when you squeeze it into your hand.
Add witch hazel until the mixture creates a clump in your hand (step 4).
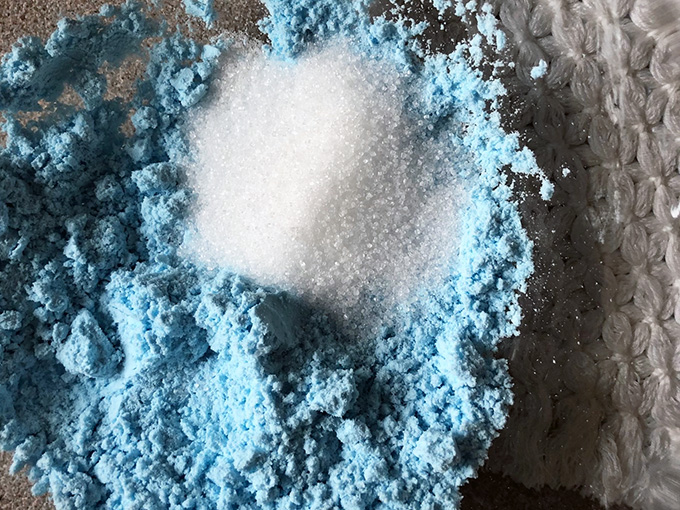
- Next, add the citric acid and stir.
Add citric acid (step 5).
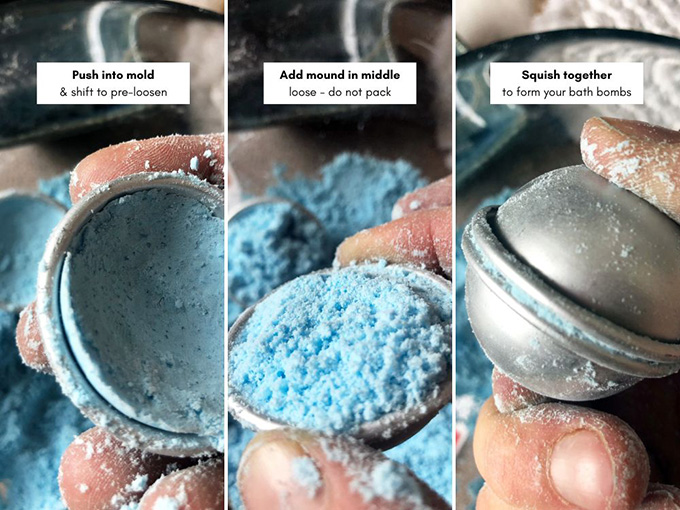
- Gently press bath bomb mixture into each half of the mold. Press against the edges of the mold, but leave the center slightly hollow. Then, shift this half bath-bomb ever so slightly out of the the mold. This is to loosen it up so that it comes out more easily after you finish forming the ball shape.
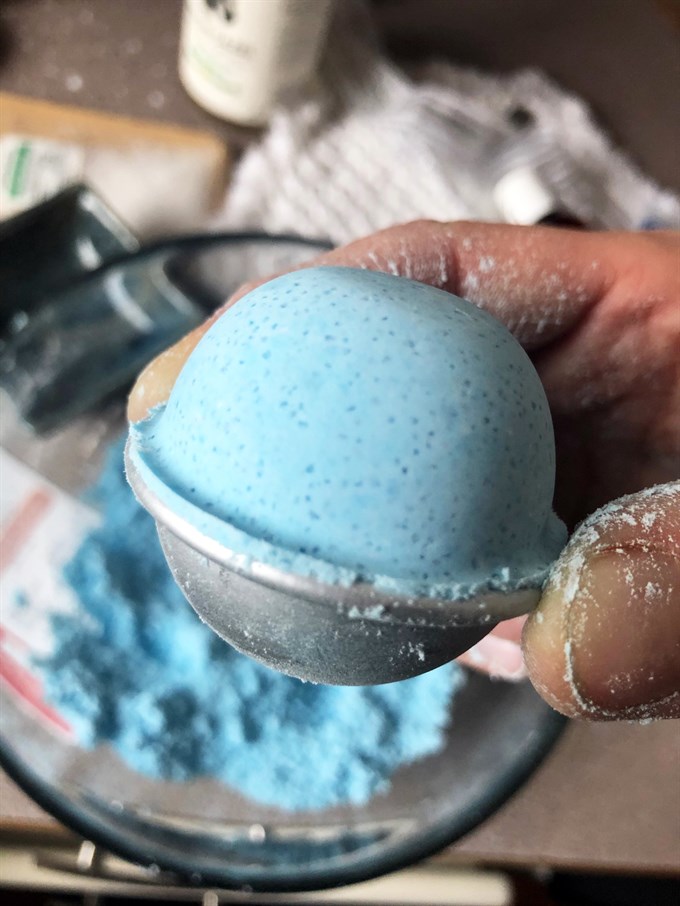
Forming the bath bombs is crucial, see tips in description (steps 6, 7, 8).
- Overfill the mold so the mixture creates hills in each half of the bath bomb. Do not press this down.
- Push the two halves of the mold together. Squeeze tight and I also tapped it a few times into the palm of my other hand.
Carefully remove the mold. If needed, squeeze it ever so slightly. To help loosen the bath bomb inside, I also tapped it a bit. (step 9).
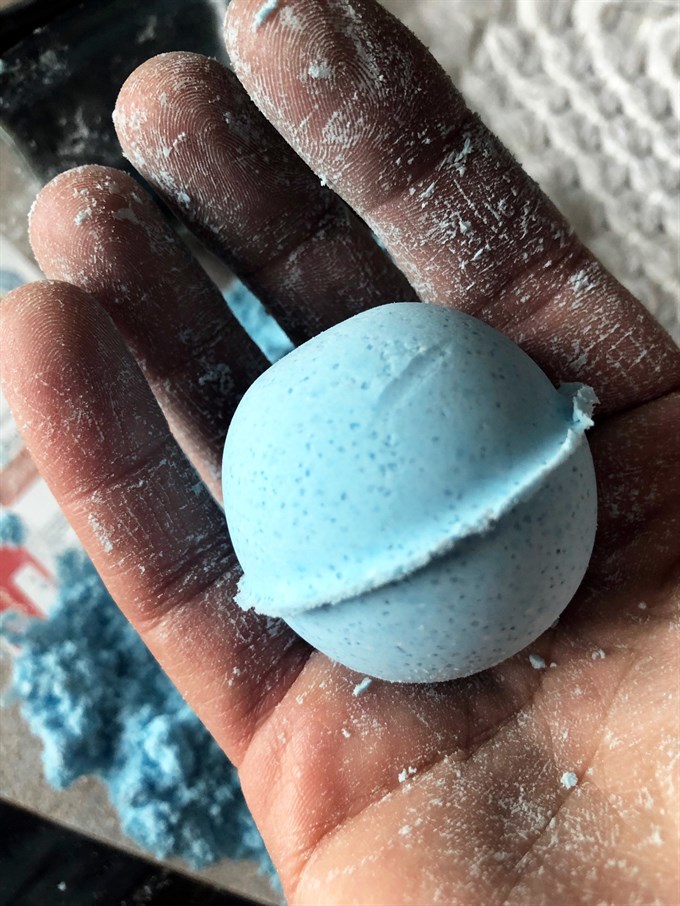
- Carefully remove it from the mold and place to dry overnight.
Finished! Place to dry overnight.
Repeat to create a total of 3 bath bombs with this recipe. Set the bath bombs in a safe place to dry. As it dries, the bath bomb will harden. Dry time will depend on the environment you live in and typically takes 4-24 hours.
Use only 1 bath bomb in your tub if you have sensitive skin. Feel free to use more than one if you don’t have sensitivities.
And of course, if you prefer a different scent for relaxing, feel free to simply alter the essential oils used in this great recipe.
Alternate Essential Oils to Use
If you are making these bath bombs for specific therapeutic effects such as relaxation, I recommend the following essential oils:
- Chill blend, by Rocky Mountain Oils (for relaxation)
- Worry free, by Plant Therapy (for unwinding)
- Balance, by Plant Therapy (during women’s monthly cycles)
Final Thoughts
Making your own essential oil bath bombs is a fun! While I have avoided making bath bombs for a long time, it’s quickly becoming a favorite DIY recipe. Once I got the technique sorted, it was so much fun to see these little beauties come to life.
With just a few simple ingredients, you can make these delightful little indulgences right in your own home, too.
Next time you need some relaxation time, gather up your supplies and give it a try! You might just find that homemade bath bombs are your new favorite bath time accessory. Really, why not? It’s such an easy way to pamper yourself.




Can something other than Almond Oil be used due to my granddaughter being allergic to nuts.
Yes absolutely, any oil that’s fatty (and not nut based) can be used as a replacement carrier oil in this case. Try grapeseed, apricot, avocado oil, olive oil, castor oil… if you wish to see how they’re different and how to best match them to your skin type, please refer to my carrier oils guide here.