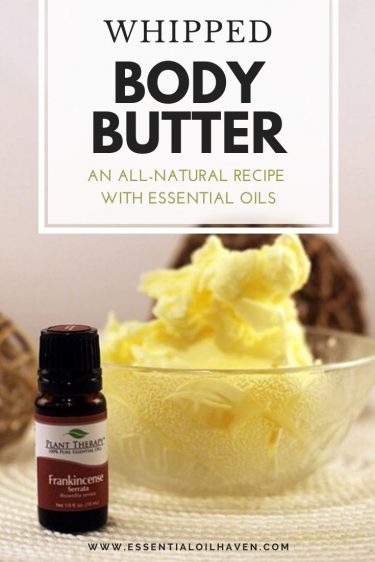
 Making my whipped body butter recipe is among my favorite skin care DIY’s. If you’ve been wanting to use more natural, chemical-free products on your skin, this recipe will get you there!
My homemade whipped body butter is nutrient-rich, luxurious, and also cost-effective!
This recipe is not hard to make. You only need 3 ingredients: a solid butter, a liquid oil, and essential oils. In my recipe, I’ve used cocoa butter (you can also use shea butter), jojoba oil, and Frankincense.
This post contains affiliate links, which means if you make a purchase through these links, I may receive a small commission at no extra cost to you. Read my full disclosure policy here.
Your whipped body butter will last for as much as six months – but it’s best used within three months.
What are you waiting for? I know you can do this! Let’s get started with the ingredients & recipe instructions.
What Is A Body Butter?
Making body butter is super simple! It’s velvety texture comes from combining solid butters (such as shea butter, cocoa butter, or mango butter) with liquid oils (such as coconut oil, sunflower oil, almond oil or jojoba oil). The liquid oils are also referred to as carrier (or base) oils in aromatherapy.
After you have the base, then you add the essential oils of choice to give your homemade body butter that extra flair!
All you need is 3 ingredients:
- A solid butter (such as shea butter)
- A liquid oil (such as fractionated coconut oil)
- Essential oils
How To Make Homemade Whipped Body Butter
For this recipe, I’ve chosen cocoa butter as my solid, jojoba oil as my liquid, and Frankincense Serrata as my essential oil.
During cold winter months especially, the skin needs even more moisture to remain healthy. This combination of natural ingredients is deeply nourishing for beaten down skin and safe to use all over your body (except your face).
Creating your own skin products combining cocoa butter and jojoba oil is quite doable in your kitchen. Here’s how simple it is to make!
Ingredients
- 3/4 cup cocoa butter (solid)
- 1/4 cup jojoba oil (liquid)
- 12-18 drops of Frankincense Serrata essential oil
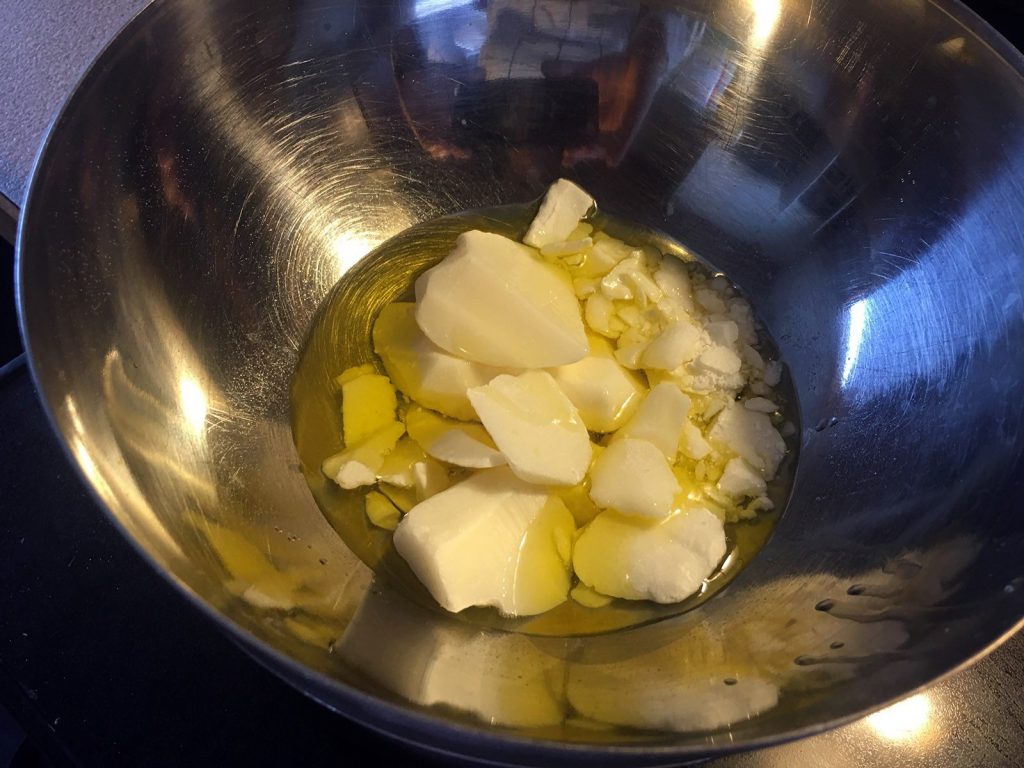
Homemade double boiler with oils
Directions
- Combine cocoa butter and jojoba oil in a medium pot
- Heat over a double boiler until the cocoa butter is melted.
- Take off the heat and add essential oils
- Stir to combine
- Cover your container (to avoid condensation)
- Cool it off in the freezer for about 20-25 minutes, until it’s half-solid again (press your finger to test – it should leave a mark easily – then it’s perfect!)
- Whip for about 5 minutes – until you’ve created fluffy white peaks. This may take longer with a hand mixer.
- Store in a clean jar for up to 3 months
- Use as much as you want and need!
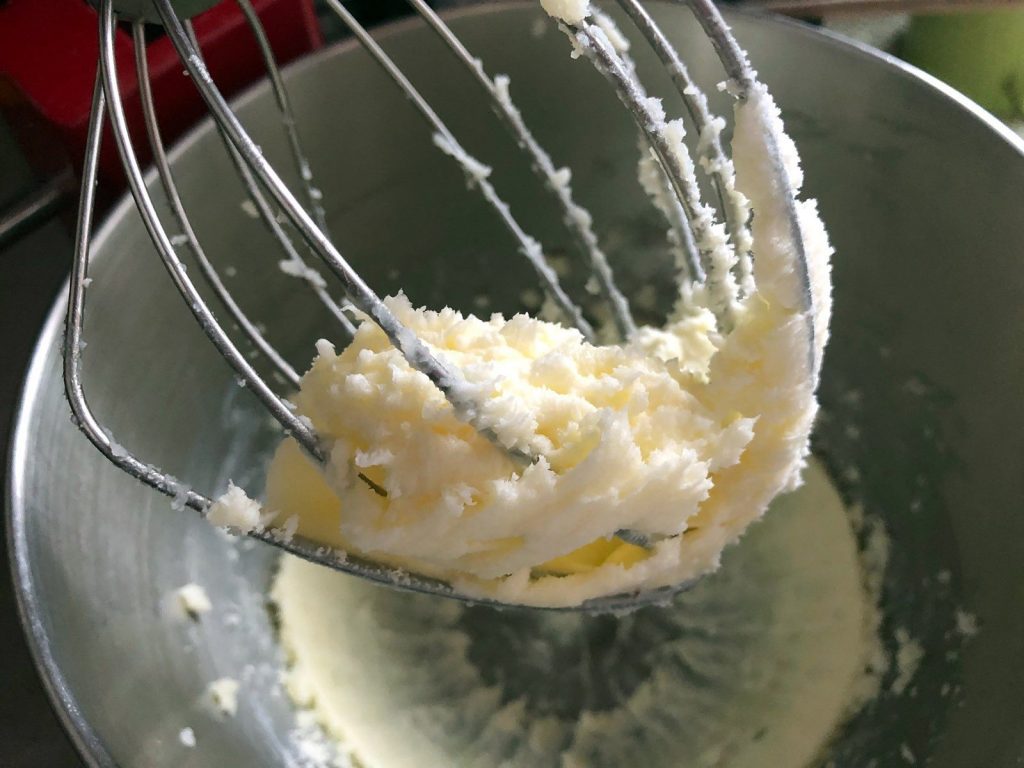
The whipped body butter is light, fluffy and airy on the KitchenAid stand mixer.
Time Required
You’ll need about 35 minutes to complete this recipe, but it’s not all working time. Most of the time is spent waiting for the butter mix to harden. When the butter-oil combination is fully melted, you have to harden it in the freezer for around 20-25 minutes.
Shelf Life
Keep your body butter in the fridge if you can. It can last up to 6 months, but it’s better used within 3 months. Personally, I find mine lasting less than a month usually because I make small batches so I can vary the essential oils for different scents and skin care goals.
If kept at room temperature, I’ve found it to go a little mushy. That said, if the consistency is too hard coming right out of the fridge, let it stand for a few minutes before applying. You can also use it almost like body lotion melts, using your body’s skin temperature to soften up the body butter as you apply it, if needed.
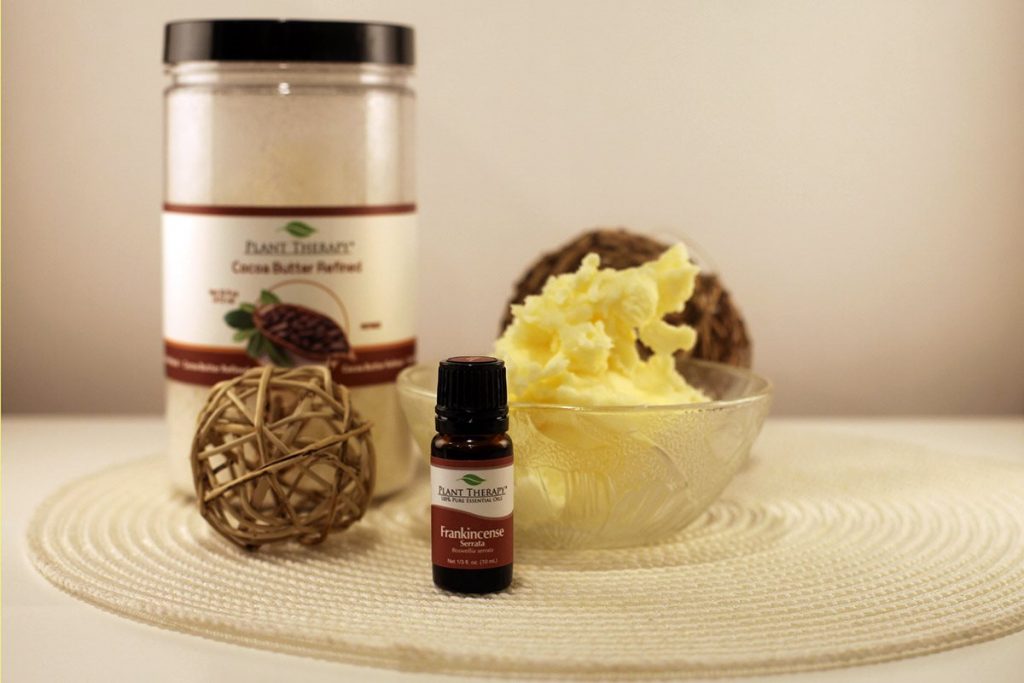
Whipped Body Butter Recipe Ingredients
Body Butter Recipe Ingredients
Double Boiler
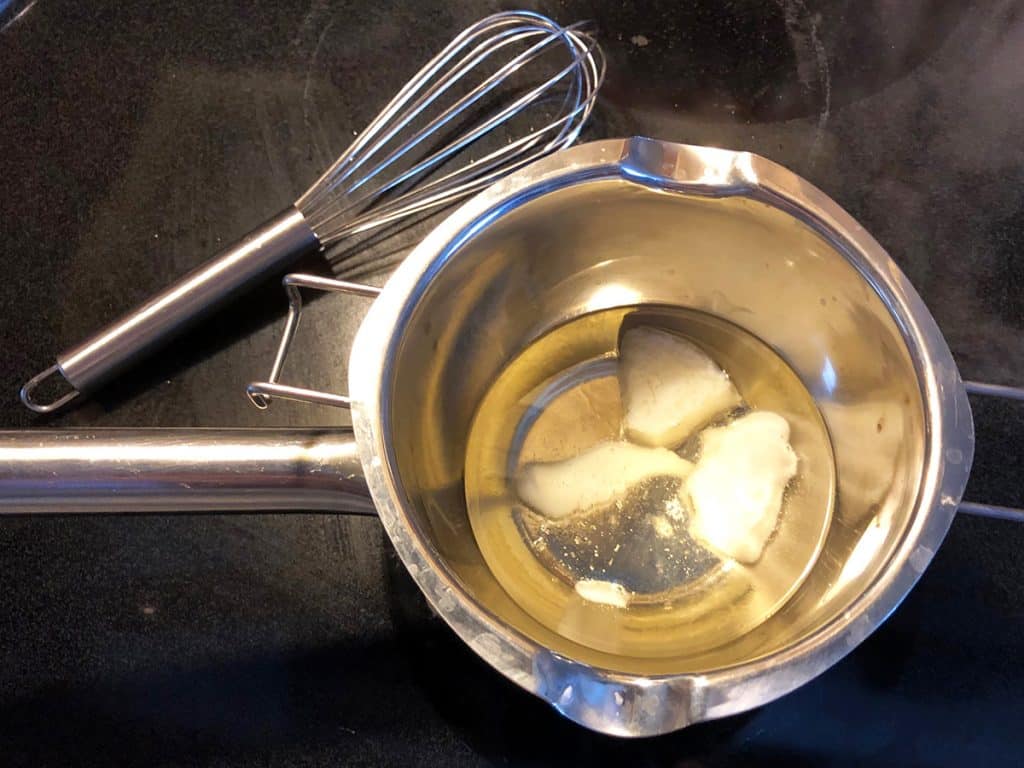
Melt coconut oil and shea butter in a double boiler on your stove.
Get it here
First and foremost, my body butter recipe uses a double boiler to melt the base ingredients.
To make a basic double boiler, use a regular cooking pot and an aluminum or glass mixing bowl that’s slightly larger than the pot opening. Put 1/4″ of water into the pot, place the bowl over top, and let it create steam. This will totally do the trick.
That said, a slightly more professional double boiler (like this one here) would be a fantastic little home DIY investment (or gift idea) for an essential oils DIY enthusiast!
And here are some more aromatherapy supplies you may appreciate for your at-home DIY projects!
Cocoa Butter
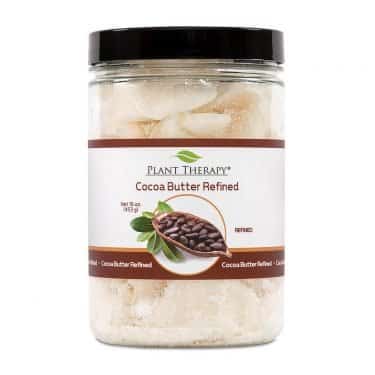
Cocoa Butter Refined
Get It Here
Cocoa butter is created from cocoa beans. It is packed with vitamins and acids that can improve skin’s appearance over time.
This butter has an extremely light, soft texture to it and it’s quite simple to work with. Adding cocoa butter is what makes your homemade body butter a terrific skin softener with an organic chocolate aroma. It is great for any type of skin.
Use Refined Cocoa Butter whenever you make body butter. Here’s the One I Used
Shea Butter
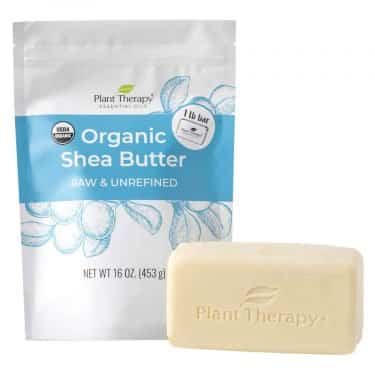
Organic Shea Butter in bar form
Check price
If you’re opting for a recipe with shea butter, your skin will love you! Shea Butter is a versatile beauty ingredient. It is naturally rich in Vitamin A, E, and essential fatty acids. In DIY recipes, it is nourishing and moisturizing for dry and damaged skin.
Look for a shea butter that is raw and has not been refined or processed. This will have the most smooth, satiny finish. Plant Therapy’s Organic Shea Butter Bar is excellent in lotions, creams, or balms.
Jojoba oil
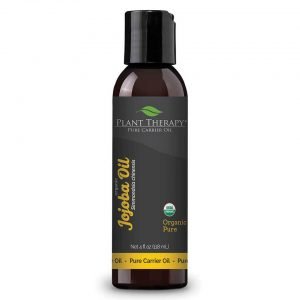
Organic Jojoba Oil Shop here
Jojoba oil in this recipe has many different advantages, too. It has anti-inflammatory properties that help relieve skin dryness, itching, flaking, and related symptoms ¹.
Your skin is the biggest organ of your entire body and, like your hair, is among the initial things people see. That is why I used Jojoba oil in this skin-moisturizing body butter recipe. Your skin thanks you when you use Jojoba oil!
That said, if you don’t have Jojoba around, your next best bet is Sweet Almond oil or simple Coconut oil. Both of those substitutions are also great skin-nourishing oils.
Frankincense Essential Oil
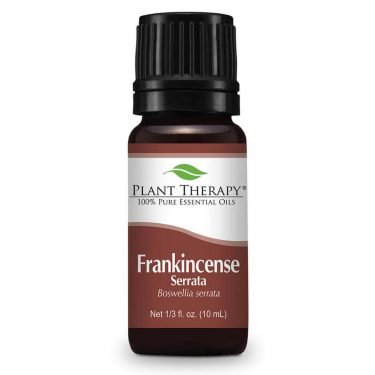
Frankincense Essential Oil
Get It Here
Why did I pick Frankincense as an ingredient for this recipe? Because Frankincense has ample benefits for shinier skin!
Frankincense has a lot of the necessary physical properties to make it ideal for the skin. First and foremost, it promotes cell regeneration ², which is what all skin needs. Especially during tougher periods for your skin, such as winter cold air or the natural ageing process, you can’t give it enough support to stay supple and looking young.
Another great added benefits of Frankincense essential oil is that it may also help relieve stress. Thus, the advantages of Frankincense oil are extremely diverse.
Recipe Variations
I’ve created this cocoa-jojoba-frankincense body butter combination specifically for dark winter months.
You can use the same quantities, but vary the ingredients to make a more seasonally appropriate body butter.
For example:
- Tropical Tango: Mango Butter, Sunflower Oil, Grapefruit Essential Oil
- Garden Fresh: Shea Butter, Sweet Almond Oil, Juniper Berry Essential Oil
- Hone Your Feminine Side: Shea Butter, Apricot Kernel Oil, Ylang-Ylang Essential Oil
- Finally Fall: Cocoa Butter, Hazelnut Oil, Tangerine or Sweet Orange Essential Oil
- Evening Bliss: Shea Butter, Sunflower Oil, Lavender Essential Oil
NOTE: of course you also don’t have to use a single essential oil. You can use the same amount (drops) of oil, from an oil blend or synergy that you like. The aroma will be additionally complex as blends usually contain at least 5 single essential oils.
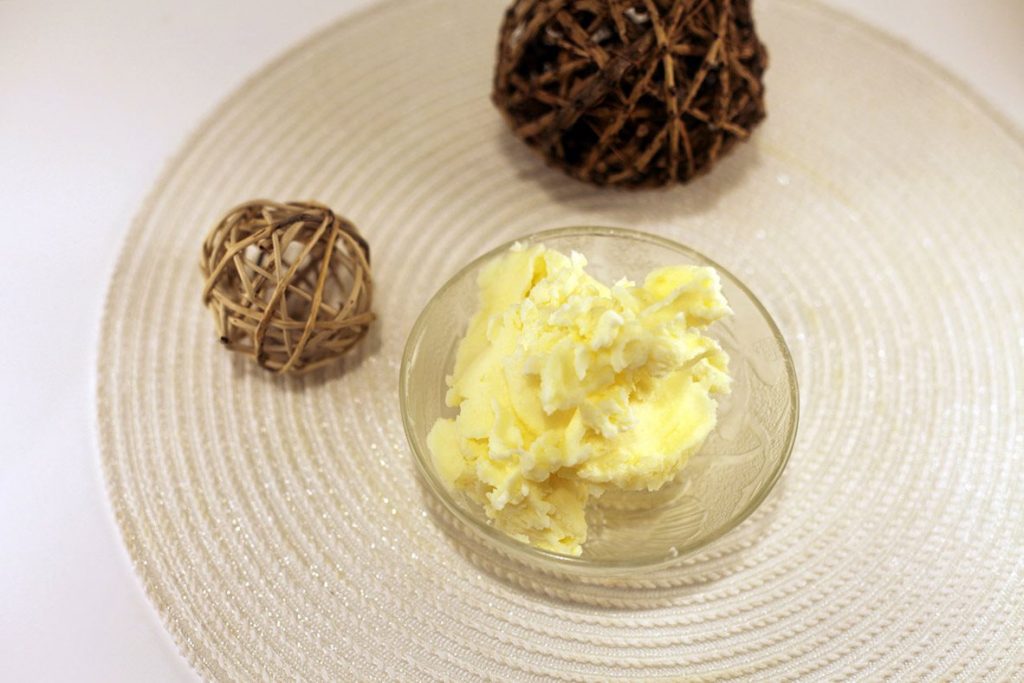
Homemade whipped body butter
Final Thoughts
Now that you have made your own homemade body butter, lather it on as much as you want! Since you recognize precisely what is in it, you can feel good about using all-natural skin care products in your body care routine.
What other body products have you replaced with DIY recipes? Did you try my recipe and what do you think of it? Let us know in the comments below!
References
¹ 13 Reasons to Add Jojoba Oil to Your Skin Care Routine https://www.healthline.com/health/beauty-skin-care/jojoba-oil-for-face#dry-skin
² Biological activities of Frankincense essential oil in human dermal fibroblasts: https://www.ncbi.nlm.nih.gov/pmc/articles/PMC5801908/


Can you give the ingredients in weight, both ounces and grams? I find it much easier to measure out ingredients that way, especially when they are very thick or in a block. Thank you!
Thanks for the body butter recipe! As far as face creams, I have lots of tried and failed recipes! However, about 2 years ago I began making face serums instead of creams. It was a life changer! Using roses hip oil, pure vitamin e oil and 5-6 other face calming essential oils. I have found that I only need a little bit to really moisturizer my face without a greasy finish! My 5 daughters, age 24-39 have fallen in love with the serum. It doesn’t cause them to break out either! I highly recommend serums instead of creams.
Hi Emma. Luv your website. Do you have a recipe for a face cream? Also, when you say sunflower oil, do you mean the cooking oil or something else? Could I for instance use cold pressed olive oil? Thanks for any advice you can give me!
Hi Ruby-Marie, thank you so much! Yes, sunflower oil can be for cooking and/or as an essential oils base oil. It’s best to use cold-pressed but yes, they’re one and the same. Also yes, you can use your cold-pressed olive oil for a carrier oil as well. I often use my kitchen supplies when I have nothing else on hand. I’ll work on a face cream recipe – thanks for the idea! It’s slightly tough as some carrier oils clog the pores and you don’t want that in a face cream where the pores are so sensitive and many struggle with acne or blackheads… so the blend has to be right. I’ll work on it :) Thanks again!
I’ve been looking for a good all natural body cream/butter and stumbled across this site and this recipe. I thought I’d try it out. So I did, only I used Shea butter instead of cocoa butter because that’s all I had. I also added helichrysum oil and vitamin E oil. I put the mixture in the freezer as instructed for 20 minutes. When my timer went off I checked the mixture and it was still liquid, it hasn’t set up any at all within that instructed time frame. I’m a little let down by this because I followed the instructions. I put the mixture back in the freezer for another 20 minutes to see how that works.
I’m so sorry to hear that! I made the recipe myself (as you can see in the photo, that’s my batch), and it set-up wonderfully. Please let us know how it went for you after the 2nd 20 minutes? Thanks for posting!