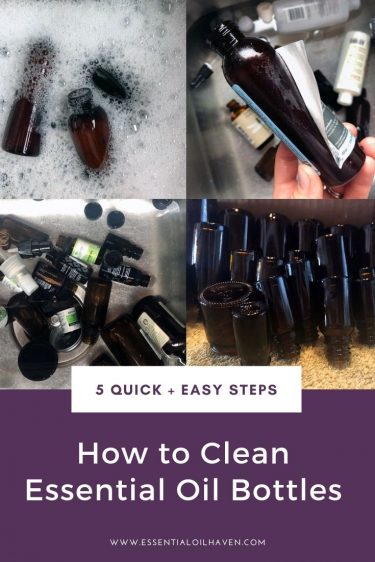
 If you’ve been an oiler for any amount of time, you’re guaranteed to have a library of empty amber glass bottles.
Do you keep them around? Throw them in the glass recycling? Wonder how to clean them for reuse?
Empty essential oil bottles are easy to clean, reuse, and re-purpose. Once sterilized, you can use them for crafting your own blends, recipes, and tinctures. You could make them into a DIY reed diffuser. Or use them for a travel kit to carry around a small amount of your favorite toiletries, oils, or DIY recipes. The options are endless!
This post contains affiliate links, which means if you make a purchase through these links, I may receive a small commission at no extra cost to you. Read my full disclosure policy here.
Instead of buying new essential oil glass bottles and supplies, re-purpose your empty ones for all sorts of home uses. In a few simple steps, I’ll show you how to best clean, sterilize, and reuse your amber glass essential oil bottles.
1. Soak in Vinegar
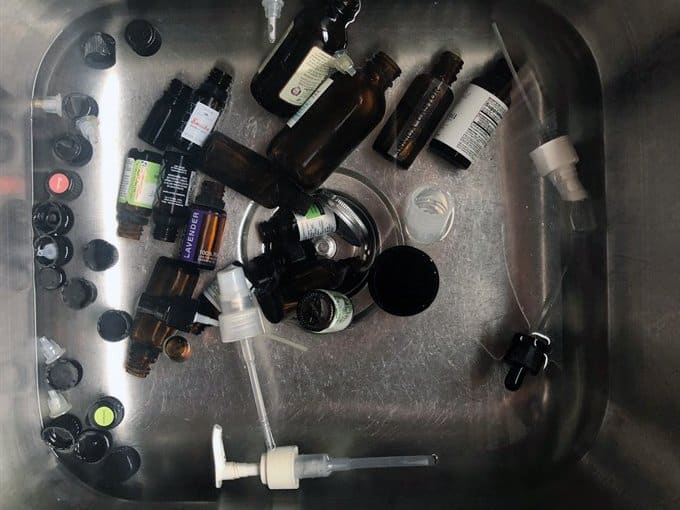
Soak bottles in 1 gal hot water + 1/4 cup white vinegar
To start your essential oil bottle cleaning, fill your sink with about 1 gallon of hot water. Not too hot, as you’ll still need to be able to put your hands in it. But, as hot as you can tolerate.
Mix in 1/4 cup of white vinegar. Nothing special here, the culinary kind from the store is totally fine.
Let your oil bottles soak in this solution for 4-5 minutes. The vinegar will help clean out any remaining oils in the bottles. Plus, it’ll make the labels super easy to peel off.
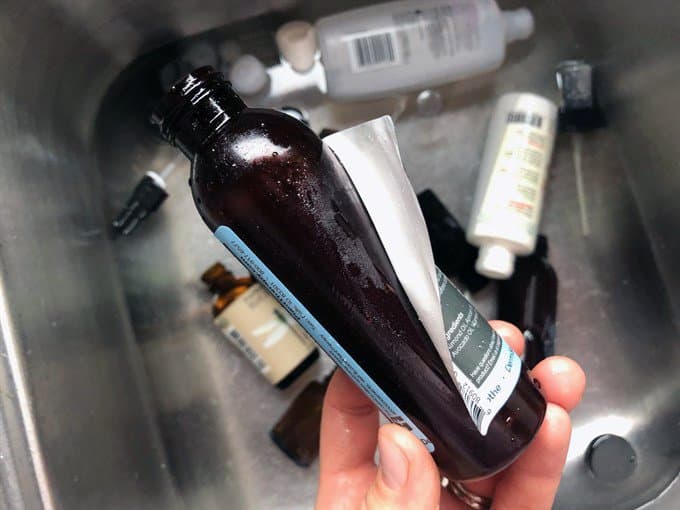
Oil bottle labels peel off super easy after a vinegar soak.
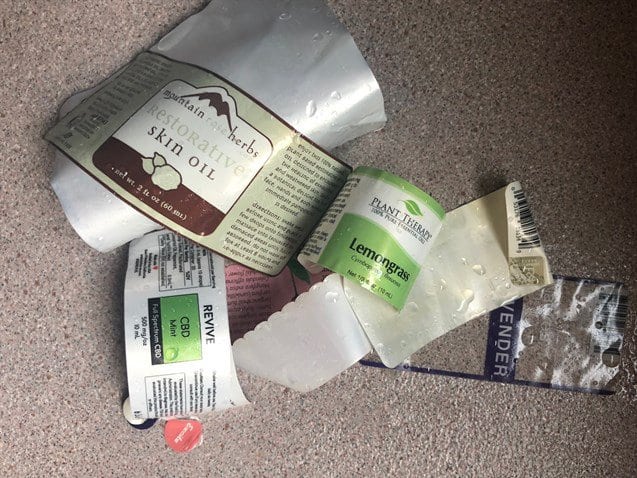
Most essential oil bottle labels come off in full – even the small little round ones from the caps.
2. Wash in Soapy Water
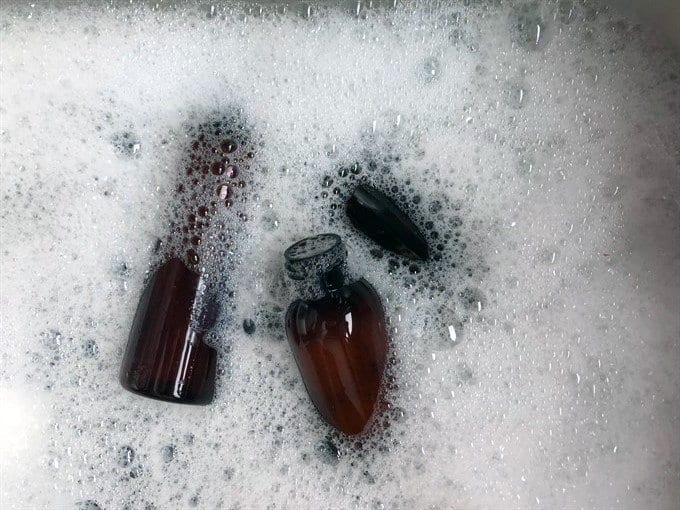
The next step is to drain the sink but leave your bottles right where they are. Re-fill your sink with hot water. This time, use your regular dish soap to make a soapy bubble bath.
The soap will clean off any remaining gunk or gue from the labels. Plus, it’ll nix any last bits and pieces of essential oils or carrier oils from inside your bottles.
If you are re-purposing sprays or other containers, get this soapy solution into every nook and cranny if you can. I usually spray any spray toppers. Make sure you spray them again with clean water in the next step, too.
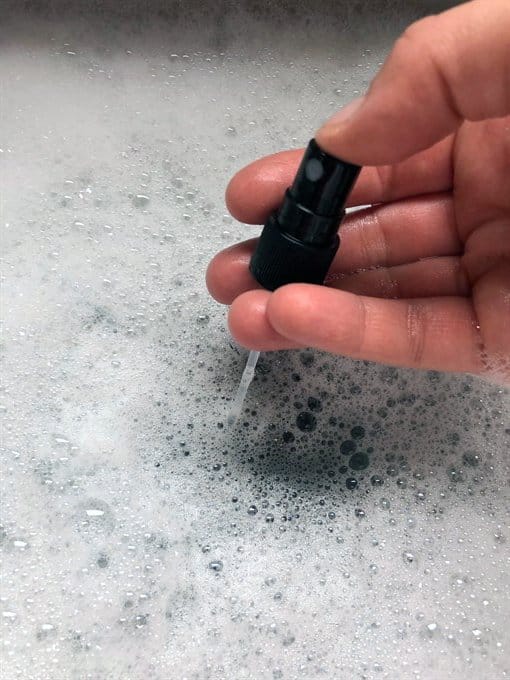
Clean your spray nozzle thoroughly.
3. Rinse with Hot Water
Rinse your reusable essential oil bottles well. Get any bits and pieces of soap off of them. Use your running tap water to do your rinsing, not a bath. It gets each bottle out a lot cleaner.
Make sure to rinse your spray nozzles, as well. Hold the thin end under the running tap water, and spray it a couple of times. This gets the nozzle to fill itself with clean, hot water and removes any residue.
4. Dry
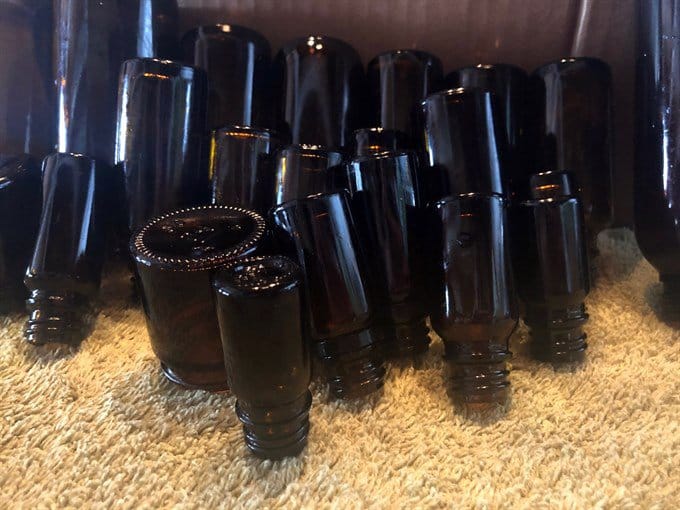
Set out your bottles to dry. Make sure you place them upside down so that no water remains inside them.
I have used a simple bath towel to stack my bottles here. But I was thinking that one of these Boon Grass bottle drying racks would sure be handy right about now!
5. Sterilize
Before re-purposing your essential oil bottles, it is a good idea to sterilize them. If you’re familiar with canning or jam making, this is quite easy to achieve with glass bottles.
Place them on a cookie tray and “bake” them in your oven for 20 minutes at 200° F. The heat kills any bacteria or micro-organisms that may still be present on the surface of the bottle. For full instructions on how to do this, please see here.
It is best to sterilize your bottles immediately before use. But, if you don’t have the time for that, or prefer to prepare them earlier, you can also sterilize them all in one batch. Then, keep them neatly stored away in a clean place. Re-use as needed.
Cleaning Essential Oil Bottles
There you have it! That’s all the magic to cleaning and re-purposing your essential oil bottles. You are now ready for all sorts of DIY recipe making, or creating some new master blends for yourself.
If you have any questions, let us know in the comments below!
Still need some great DIY supplies for your library? Check out my selection of faves here.


Hi Emma,
I’m finding it difficult to find a label that will stick to my amber dropper bottles containing my homemade oil blends, they end up sliding around and are difficult to read once they invariably get covered in oil.
Do you have any good tips or suggestions?
Thanks
Lisa
Hi Lisa, I can totally understand that situation! I use a label maker for my bottles, and I haven’t had any slipping labels or greasy writing problems. Here is a description and link to it if you want to check it out more.
How do you recommend disposing of oil blends if they are old or you don’t know what they are?
Excellent question! I would drain the old oil onto a kitchen paper towel, and put said paper towel into the garbage. Then, give the glass bottle a quick rinse and recycle or re-purpose.
I spilled my “digest” oil on the kitchen table while I was TRYING to refill my roller bottle. How do I go about cleaning up the spill. And is there a special tool for removing those roller balls?
Hi Charity! So sorry to hear about your mishap! Yes, there is a special tool to open roller bottles, you can find it for less than $10 on my Amazon storefront here. As for clean-up of the oil, I usually wipe it up well with paper towel, spray with an all-purpose cleaner, and then wipe that up with a moist kitchen cloth. That usually does it for me! Hope it works for you, too.
Hello! To sterile the roller bottles, their caps, and metal balls; how about placing them in the dishwasher on a rinse cycle and letting the drying cycle sterile it all. Will this work as well?
Hi Maria. Great question! A typical dishwasher does NOT sterilize. However, some dishwashers have an extra cycle labeled “sanitize” or similar. If your dishwasher has this feature, please inquire with the manufacturer as to if it sanitizes the bottles and caps. I believe for 99.99% of germs to be killed, the dishwasher cycle has to run at a minimum of 150°F.